How to Become a Tutor: A Step-by-Step Guide for Beginners
8 min read
Contents
You can become a tutor without renting a classroom, spending a fortune on advertising, or having years of teaching experience. To get started, you need a solid knowledge of your subject, a clear idea of who you can help, a plan for your first lessons, and a way to find students.
Here’s how to get started, set your rates, and organize your work as you build a tutoring business.
1. Choose Your Subject and Target Audience
Start with a subject you know well and feel confident teaching. This could be a school subject, a foreign language, exam preparation, or a specific academic skill.
You don’t have to teach every age group or cover every topic from day one. A clear, focused offer is more likely to attract the right students than a promise to teach everything to everyone.
For example, you could help elementary school students with math, prepare teenagers for exams, or teach adults a new language from scratch.
Ask yourself three questions:
- Which subject do I know well enough to teach?
- Who would I prefer to work with: children, teenagers, or adults?
- What specific problem can I help my students solve?
Choose one area to start with. You can expand your services as you gain experience and learn more about what students need.
2. Prepare for Teaching
Can you become a tutor without a teaching degree? In many cases, yes, although requirements vary by country and type of work. However, knowing a subject well and knowing how to teach it are two different skills.
Before your first lessons, familiarize yourself with the relevant curriculum or exam requirements, prepare a few tasks to assess a student’s level, and think about how to explain difficult concepts in simple terms.
If you have little teaching experience, start with topics you feel confident about. You can develop your teaching methods and explore new areas as you gain experience.
3. Choose Your Teaching Format
Tutors can teach in person or online.
In-person tutoring may involve teaching at home, visiting students, or renting a workspace. Remember to factor in travel time and any additional costs.
Online tutoring allows you to work with students in other cities and countries. To get started, you’ll need a computer or laptop, a reliable internet connection, a webcam, a microphone, and a video-calling platform. Depending on your subject, a digital whiteboard and other teaching materials may also be useful.
You don’t need expensive equipment or software right away. Start with the essentials and upgrade your setup as your needs grow.
4. Plan Your First Lesson
The main goal of your first lesson is to understand the student’s needs, assess their current level, and agree on the next steps.
A simple lesson structure could look like this:
- Get to know the student: Discuss their goals and challenges.
- Assess their level: Use a few questions or practice tasks.
- Work on a topic: Explain a concept or tackle a specific problem.
- Give feedback: Discuss what went well and what needs more work.
- Make a plan: Set short-term goals and agree on a schedule.
Don’t try to fix every learning gap in one session. It’s more effective to identify priorities and show the student how you’ll work toward their goals.
Before the lesson, agree on its length, price, payment arrangements, and cancellation or rescheduling policy.
5. Set Your Rates
Your rates will depend on your subject, experience, teaching format, specialization, location, and local demand.
To decide how much to charge:
- Research what other tutors in your field charge.
- Account for preparation time and homework review.
- Factor in additional expenses and platform fees.
- Decide how many lessons you can realistically teach each week.
Remember that a one-hour lesson may also require extra time for preparation and marking. If you only count the time spent teaching, you may underestimate your actual workload.
You don’t have to be the cheapest tutor available. Be honest about your experience and offer a clear, useful service. Once you have regular students and positive recommendations, you can review your rates.
6. Find Your First Students
Having no reviews or testimonials at the beginning is completely normal. You don’t need to build a website or invest in paid advertising straight away.
Try a few different ways to find students:
- Word of mouth: Tell friends and former colleagues what you teach, who you work with, and how you can help.
- Tutoring platforms: Check their listing requirements, fees, and rules for working with clients.
- Social media and online communities: Share useful explanations, common mistakes, and learning resources.
- Your own tutoring ad: Clearly state your subject, target age group, teaching format, rates, and contact details.
Instead of a vague promise like “I’ll help you love learning,” try something more specific: “I help middle school students improve their spelling and feel more confident in written assignments.”
Avoid guaranteeing particular grades or exam results. Outcomes depend not only on the tutor but also on the student’s starting level, consistency, and independent practice.
7. Understand the Rules for Working as a Tutor
Before you start earning regularly, find out what requirements apply in your country. Rules for registering a business, reporting income, paying taxes, and accepting payments can vary depending on where you live, your professional status, and how you work.
It’s also worth agreeing on a few practical details with your students:
- How and when payments are made.
- What happens if a lesson is cancelled or rescheduled.
- How homework is assigned.
- How progress is tracked.
- How often you’ll discuss results with the student or their parents.
Clear expectations help prevent misunderstandings and make working together easier for everyone.
8. Keep Your Schedule and Records Organized
When you have only a few students, it may seem easy to remember every appointment and agreement. But as your tutoring practice grows, you’ll have to manage recurring lessons, rescheduling, cancellations, homework, and payments. Your memory can only do so much.
Start by keeping track of:
- Student details and contact information.
- Lesson dates and times.
- Topics covered and homework assignments.
- Completed and cancelled lessons.
- Payments and outstanding balances.
A calendar and spreadsheet may be enough at first. As your number of students grows, a dedicated tool can make things easier.
For example, Tabula helps tutors manage their schedules, keep student information organized, track lessons, and record payments in one app. It can be useful if you want to spend less time on admin and more time teaching.

Tabula
Schedule, students and payments in one place
Frequently Asked Questions
Can I become a tutor with no experience?
Yes, provided you know your subject well and are willing to prepare carefully. Start with topics you can teach confidently. Your first lessons will help you build experience and identify areas for improvement.
Can I work as an online tutor?
Yes. You’ll need suitable equipment, a reliable internet connection, and materials that work well on screen. Online tutoring also gives you the opportunity to teach students beyond your local area.
How long does it take to find your first students?
There’s no fixed timeline. It depends on your subject, rates, local demand, and how actively you look for students. Don’t rely on a single listing—recommendations, useful content, and regular follow-ups can all help.
Do I need a website to get started?
No. First, define your target audience, create a clear tutoring offer, and try a few ways to reach potential students. You can build a website or invest in other marketing tools later.
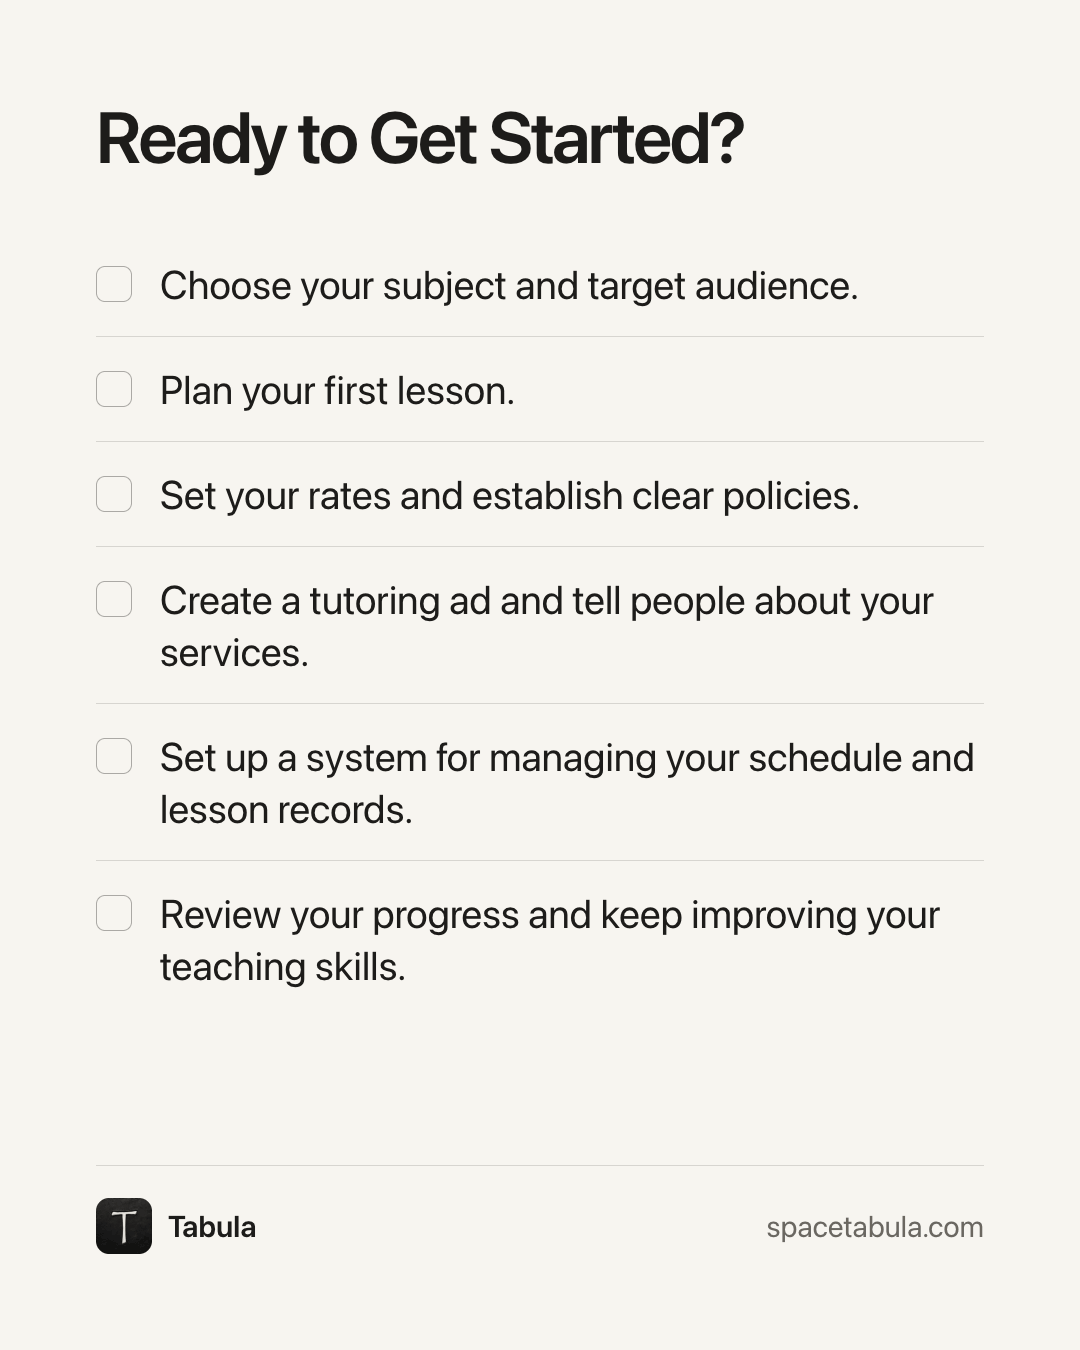
Ready to Get Started?
You don’t need to have everything figured out before becoming a tutor. Start with a few practical steps:
- Choose your subject and target audience.
- Plan your first lesson.
- Set your rates and establish clear policies.
- Create a tutoring ad and tell people about your services.
- Set up a system for managing your schedule and lesson records.
- Review your progress and keep improving your teaching skills.
Tabula
spacetabula.com
Tutoring involves more than explaining a subject. It also means planning lessons, communicating with students, managing your schedule, and tracking payments. Get these processes organized early, and you’ll have more time to focus on what matters most: helping your students learn.