How to Move Your Tutoring Business Online: A Practical Guide
13 min read
Contents
- 1Get ready before your first online lesson
- 2Choose the right platforms and teaching tools
- 3Adapt your teaching method for the online format
- 4Move your existing students online
- 5Find new students online
- 6Organise your schedule across different time zones
- 7Get used to being an online tutor
- 8What to read and explore before you start
- 9A practical 30-day plan for moving online
- Conclusion
- Moving Online: Where to Start
Moving from in-person to online tutoring does not mean starting your teaching career all over again. You already have the most important things: subject knowledge, teaching experience, and an understanding of how students learn. What changes is the way you organise lessons, communicate, and use teaching materials.
A successful transition takes more than setting up a video call. You need a reliable platform, a lesson format that works on screen, a clear plan for moving existing students online, and a way to reach new learners. Here’s how to make the change step by step.
1. Get ready before your first online lesson
You don't need a professional studio or expensive equipment to start teaching online. A simple, reliable setup is usually enough.
Check the essentials:
- Internet connection. Make sure your connection is stable enough for video calls. If possible, use a wired connection or sit close to your Wi-Fi router.
- Computer or laptop. A larger screen makes it easier to share materials, write on a digital whiteboard, and see your student at the same time.
- Camera and microphone. Your built-in camera and microphone may be perfectly adequate. Test the sound quality and camera angle before buying anything.
- Lighting. Face a window or place a lamp in front of you. Avoid sitting with a bright window behind you.
- Background. Choose a quiet, tidy space with as few distractions as possible.
Before inviting a student, run a test call. Practise sharing your screen, opening a presentation, using the whiteboard, and sending a file in the chat.
It is also worth preparing a short set of instructions for students and parents: which platform to open, how to join the lesson, what equipment they need, and what to do if the connection drops.
2. Choose the right platforms and teaching tools
You don't need to use every tool available. Start with a small set that covers the main tasks: video calls, shared writing, teaching materials, and communication.
Video conferencing
Choose one platform and use it consistently.
- Zoom — offers video meetings, screen sharing, chat, and other features useful for online lessons.
- Google Meet — a straightforward option for video calls, especially if you already use Google services.
- Microsoft Teams — combines video meetings, chat, and file collaboration.
- BigBlueButton — a virtual classroom platform with teaching-oriented features such as shared whiteboards and presentations.
Compare the available features, pricing, meeting limits, and regional restrictions before choosing. The best option is the one your students can join easily and use without technical difficulties.
Digital whiteboards
A digital whiteboard is especially useful for subjects that involve writing, calculations, diagrams, or step-by-step explanations.
Some options to explore:
- Whiteboard.fi — lets students work on individual whiteboards while the teacher can view their responses.
- Miro — a collaborative board for diagrams, notes, brainstorming, and visual lesson activities.
- FigJam — a shared visual workspace with templates and interactive elements.
- Microsoft Whiteboard — a digital canvas for drawing, writing, and collaboration.
Try a tool with one real lesson before making it part of your regular routine. A whiteboard should make learning easier, not turn the lesson into a software tutorial.
Materials and interactive activities
You can adapt many of the resources you already use in person.
- Canva — for worksheets, presentations, visual explanations, and lesson materials.
- Google Docs and Google Slides — for shared documents, exercises, and presentations.
- Quizlet — for vocabulary practice and revision with digital flashcards.
- LearningApps — for interactive exercises and simple learning games.
Start with tools that solve a specific teaching problem. If a student needs to practise vocabulary, a set of digital flashcards may be enough. If you need to explain a maths problem, a shared whiteboard may be more useful than a colourful presentation.
For a more detailed guide to choosing and using virtual tutoring platforms, see the National Student Support Accelerator resource from Stanford University.
3. Adapt your teaching method for the online format
One of the most common mistakes new online tutors make is trying to reproduce an in-person lesson exactly as it was. The content may be the same, but the way students interact with it is different.
Online lessons require more deliberate structure and more frequent opportunities for students to participate.
Here are a few practical adjustments:
- Break the lesson into shorter activities. Long explanations are harder to follow on a screen. Alternate between explaining, asking questions, practising, and discussing answers.
- Make the student an active participant. Ask them to write on the shared board, solve a problem on screen, highlight a phrase in a text, or explain their reasoning aloud. Avoid turning the lesson into a long monologue.
- Use visual materials purposefully. Diagrams, pictures, examples, and short presentations can make explanations clearer. But too many slides, animations, or unrelated images can distract from the lesson.
- Check understanding more often. In a physical classroom, you may notice confusion from a student's expression or body language. Online, these signals can be harder to read. Ask short questions, request examples, and give students time to explain their thinking.
- Allow for technical delays. Students may need a few extra seconds to hear a question, open a file, or share their screen. Plan fewer transitions and keep backup materials ready.
- Keep the lesson structure predictable. A simple routine helps students feel comfortable: a short warm-up, review, new material, guided practice, independent work, and a summary.
The key is not to make online lessons more entertaining at any cost. It is to make them clear, interactive, and easy to follow.
4. Move your existing students online
If you already have students, you don't have to build your online practice from scratch. Your current relationships and reputation are a good starting point.
However, don't assume every student will immediately agree to change the format. Some families may worry that online lessons are less effective, especially if they have never tried them.
A thoughtful transition can help.
- Explain the change in advance. Tell students or parents why you are moving online and when the new format will begin.
- Describe how lessons will work. Explain which platform you will use, how materials will be shared, and how students will participate.
- Offer a trial lesson. A short demonstration or first online session can help families see how the format works in practice.
- Ask for feedback. After the first few lessons, find out whether the student is comfortable with the platform and whether anything needs adjusting.
- Agree on practical details. Confirm the lesson duration, schedule, payment method, cancellation policy, and communication channel.
You can also send parents a short message explaining the benefits of online lessons: no travel time, more flexible scheduling, and access to materials after the session if you share them.
Some students will adapt quickly; others may need time. Give them a chance to get used to the new format before deciding whether it works.
5. Find new students online
Moving online gives you access to students beyond your immediate area. You can work with learners from other cities or countries, provided that the subject, language, schedule, payment arrangements, and local rules make it practical.
Start with one or two channels rather than trying to promote yourself everywhere.
Tutoring platforms
Specialist marketplaces connect tutors with people who are already looking for lessons.
- Preply — an international platform particularly well known for language tutoring. Tutors create a profile and apply to join.
- Superprof — operates through country-specific websites and offers listings for a wide range of subjects. Check the version available in your target country.
- TeacherOn — an international platform where tutors can create profiles and find teaching opportunities across different subjects and locations.
Each platform has its own registration requirements, fees, commission or payment arrangements, and rules about where tutors can work. Check these details before investing time in building a profile. Availability may depend on your country of residence.
Social media and online communities
You can also reach potential students through:
- local parent and community groups;
- subject-specific and education communities;
- professional groups for tutors and teachers;
- your own social media page.
Before posting an advertisement, check the group's rules. Some communities allow service listings only on specific days, while others prohibit promotional posts altogether.
Instead of publishing only advertisements, share useful content: a short explanation of a common mistake, a practical study tip, an example of an activity, or a brief introduction to your teaching approach. This gives potential students a better idea of what your lessons are like.
Recommendations and professional contacts
Tell former students, parents, colleagues, and professional contacts that you are now offering online lessons. A personal recommendation can be especially valuable when families are choosing a tutor for the first time.
If you need more ideas on positioning your services, writing a clear tutor profile, and finding your first learners, read our guide: How to Find Students as a Tutor: Where to Start.
6. Organise your schedule across different time zones
Working online means your students may live in different countries. This can expand your potential client base, but it also makes scheduling more complicated.
A lesson at 4 p.m. for you may be at 6 p.m. for your student. Daylight saving time can make things even more confusing because countries do not always change their clocks on the same dates.
A few habits will help:
- Always confirm the student's local time when arranging a lesson.
- Specify the time zone in messages and booking confirmations.
- Keep your calendar updated when daylight saving time changes.
- Leave enough time between lessons, especially when working with students in different time zones.
- Agree on a consistent schedule wherever possible.
You will also need to consider payments in different currencies. Decide in advance which currency you will use for each student, how payments will be made, and whether any transfer or conversion fees apply.
When your student list grows, keeping track of all these details manually can become difficult. Tabula helps tutors organise their schedules, students, lessons, and payments in one place. You can set a currency for each student and specify their region so the app can determine their local time. This is useful when you teach learners in several countries and want to keep your timetable and payment records organised.

Tabula
Schedule, students and payments in one place
7. Get used to being an online tutor
The technical side of online teaching is only part of the transition. You may also need time to feel comfortable in front of a camera, manage a lesson through a screen, and build rapport without sharing the same room.
At first, you might feel that you are speaking into a computer rather than teaching a real person. You may worry about awkward pauses, technical problems, or whether students are paying attention.
These feelings are normal. Online teaching is a skill that develops with practice.
A few things can make the adjustment easier:
- Start with familiar material. Your first online lessons don't have to include complicated digital activities. Use topics and exercises you already know well.
- Practise before teaching. Record a short explanation or run a test lesson with a colleague or friend.
- Prepare a little more than usual. Have your materials open, links ready, and a backup activity in case something goes wrong.
- Reflect after each lesson. Write down what worked, where students struggled, and what you want to change next time.
- Don't try to master every tool at once. Add new features only when they serve a clear teaching purpose.
You don't need to become a technology expert to be a good online tutor. Your teaching experience remains valuable; you are simply learning to use it in a different environment.
8. What to read and explore before you start
If you want to prepare more thoroughly, these resources can help you understand online tutoring and improve your digital teaching skills:
- Choosing and Using a Virtual Tutoring Platform — National Student Support Accelerator, Stanford University — practical guidance on choosing a platform, preparing students, and running interactive online sessions.
- National Student Support Accelerator: Tutoring Resources — research-informed materials and practical resources for tutoring programmes.
- Zoom Support — guides to meetings, screen sharing, audio, video, and other platform features.
- Canva Design School — tutorials and ideas for creating visual teaching materials.
You don't have to read everything before your first lesson. Choose the resources that address your immediate questions and learn as you go.
9. A practical 30-day plan for moving online
Trying to change everything at once can feel overwhelming. A simple four-week plan makes the process more manageable.
Week 1: Set up your workspace
- Check your internet connection, camera, microphone, and lighting.
- Choose a video platform.
- Test screen sharing and a digital whiteboard.
- Prepare a short online lesson using familiar material.
Week 2: Adapt your lessons
- Choose one or two digital tools that suit your subject.
- Convert an existing lesson into an online format.
- Practise giving instructions and checking understanding through the screen.
- Run a test lesson and note what needs improvement.
Week 3: Move existing students online
- Talk to current students and parents about the change.
- Explain how lessons will work.
- Arrange trial sessions if needed.
- Collect feedback and adjust your approach.
Week 4: Start finding new students
- Create a profile on one or two relevant tutoring platforms.
- Update your social media or professional profile.
- Let former students and colleagues know you are accepting online learners.
- Review your schedule, pricing, and payment arrangements.
At the end of the month, assess what is working. You may need to adjust your lesson length, try another platform, or rethink how you present your services. That is part of building a sustainable online tutoring practice.
Conclusion
Moving from in-person to online tutoring is a gradual process, not a single technical switch. Start with a reliable setup, adapt your teaching methods, communicate clearly with existing students, and choose a few realistic ways to reach new learners.
You don't need a perfect online classroom from day one. You need a format that helps students learn and a working routine that you can maintain. Build it step by step, learn from each lesson, and let your online practice develop with experience.
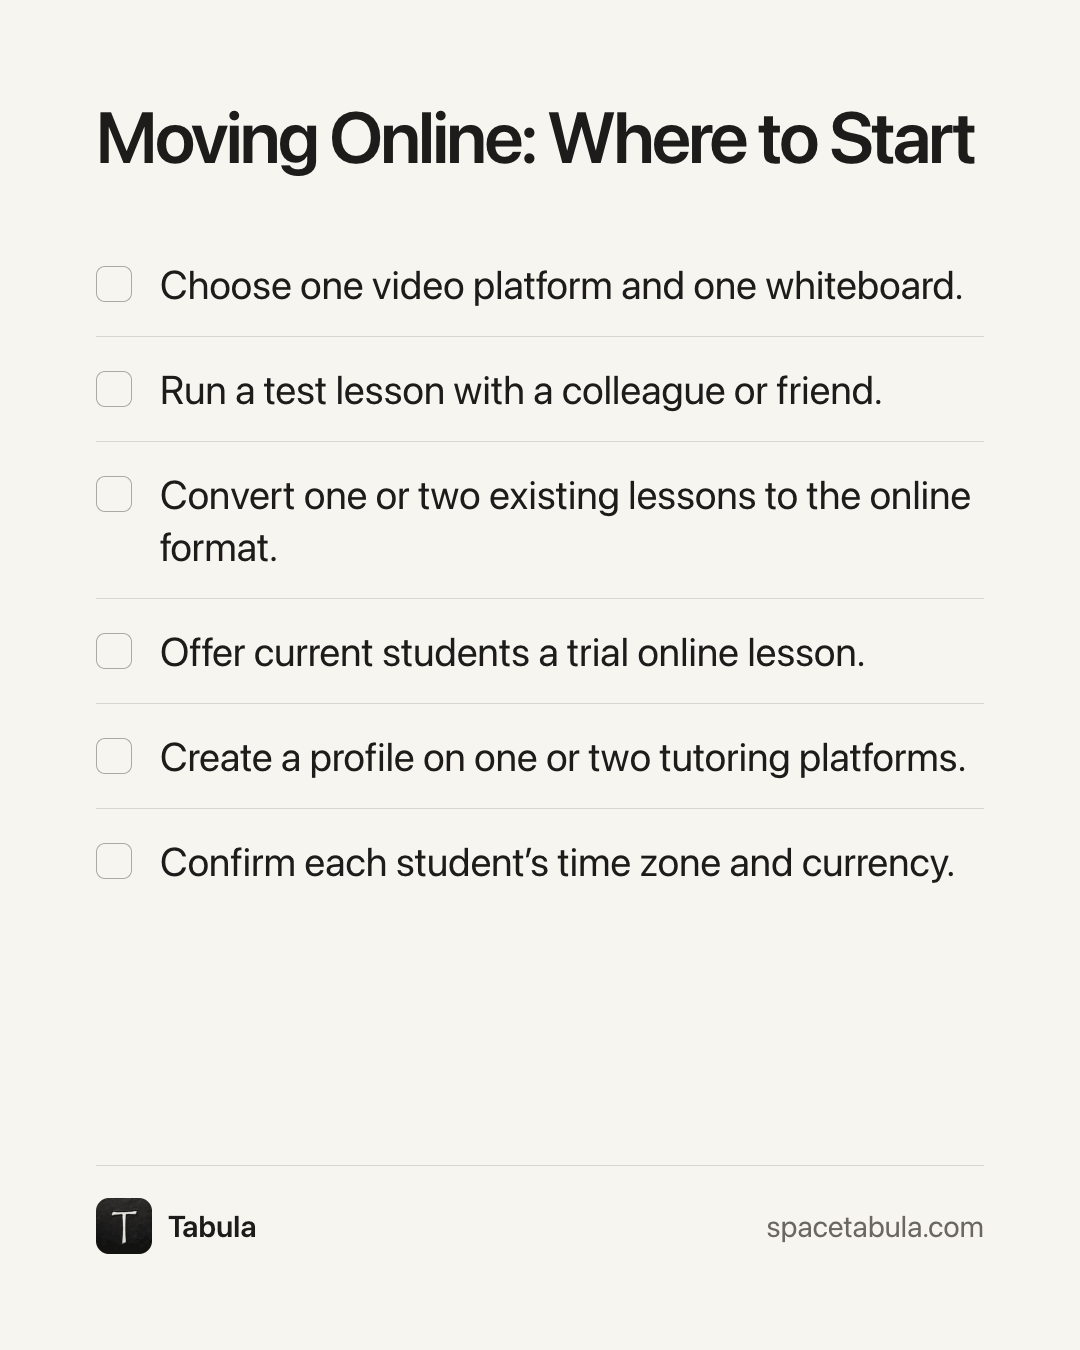
Moving Online: Where to Start
A short summary of this article: save it and tick off each step.
- Choose one video platform and one whiteboard.
- Run a test lesson with a colleague or friend.
- Convert one or two existing lessons to the online format.
- Offer current students a trial online lesson.
- Create a profile on one or two tutoring platforms.
- Confirm each student’s time zone and currency.
Tabula
spacetabula.com